Here you will know how to upload a file to a specific course and manage who can see it.
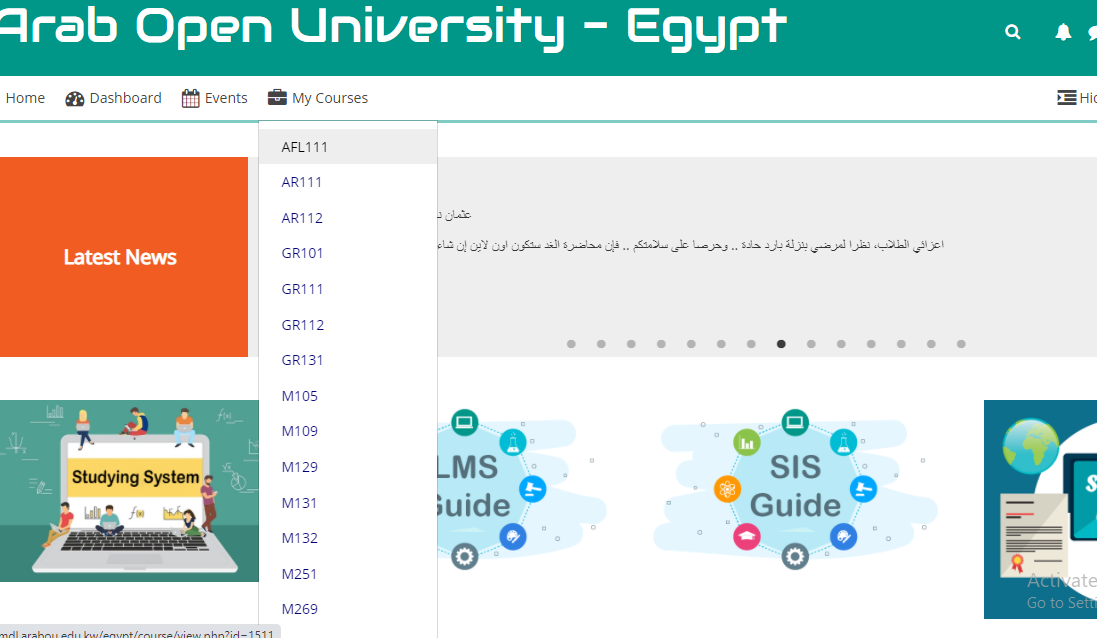
- Open the desired Course from
“My course” on LMS.
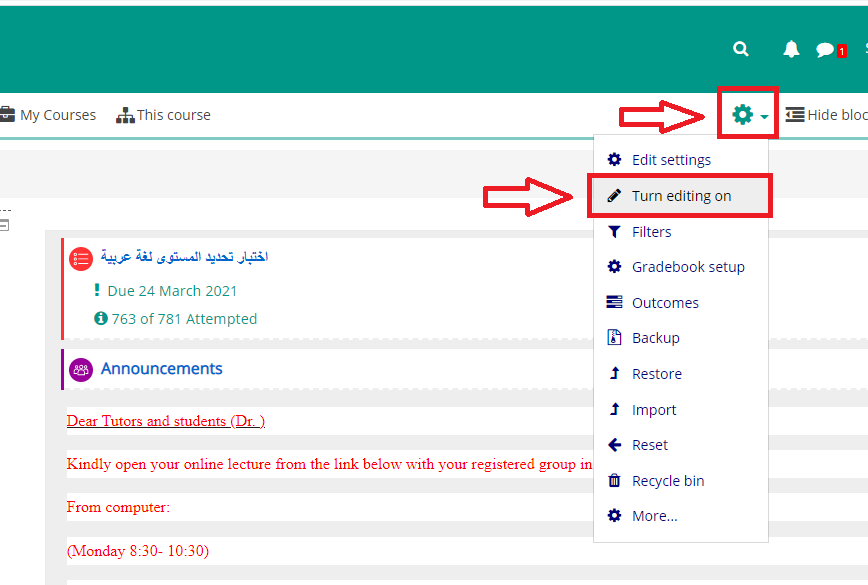
- Click on “Settings” icon, then select “Turn Editing On” from drop down menu.
- Choose the desired topic, then click on ”Add an
activity or resource” below any topic.
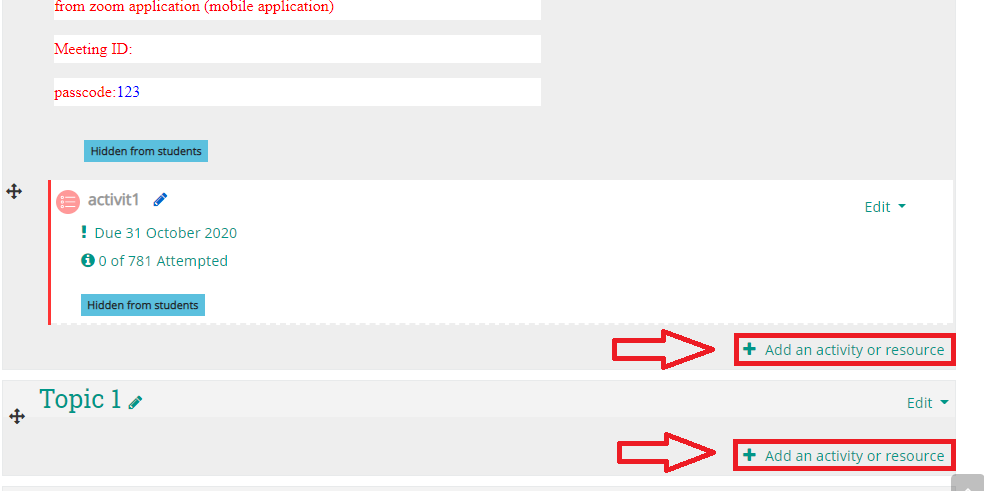
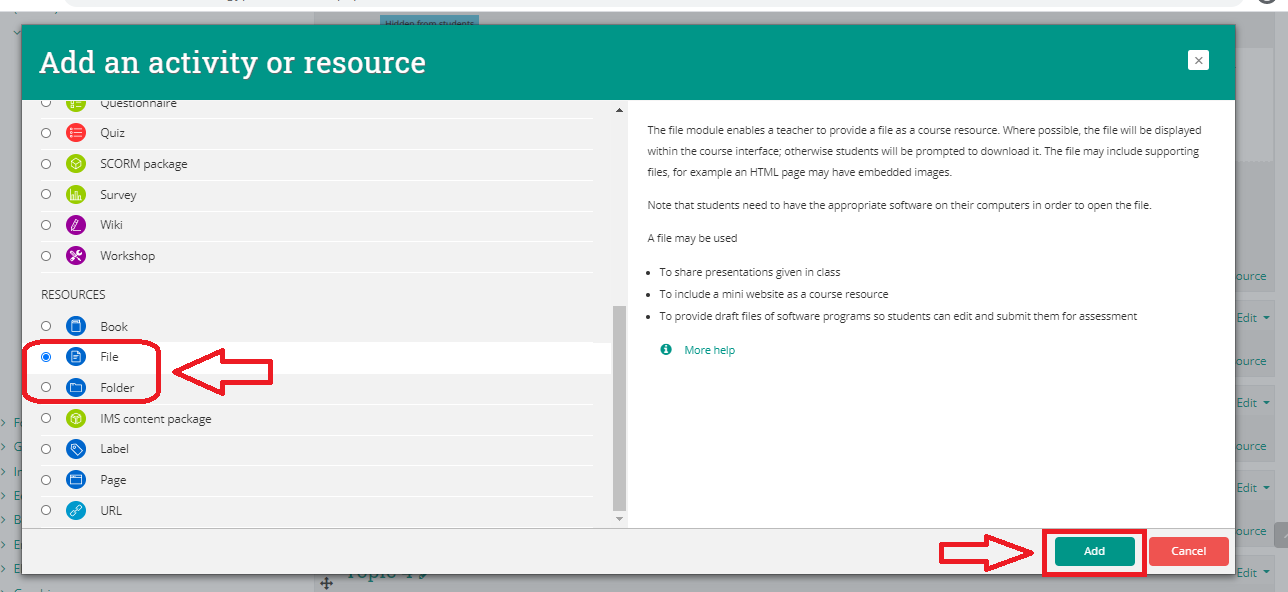
- If you want to add a single file then choose "File", If you want to add multiple files then choose "Folder", then click on "Add".
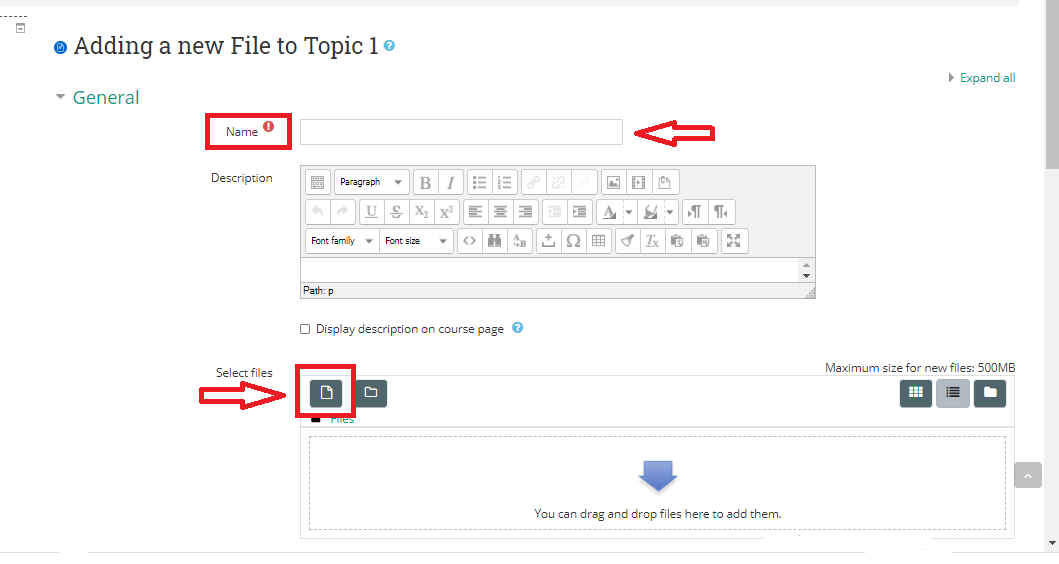
- Now you must add a name to your file.
- You may add a description (Optional).
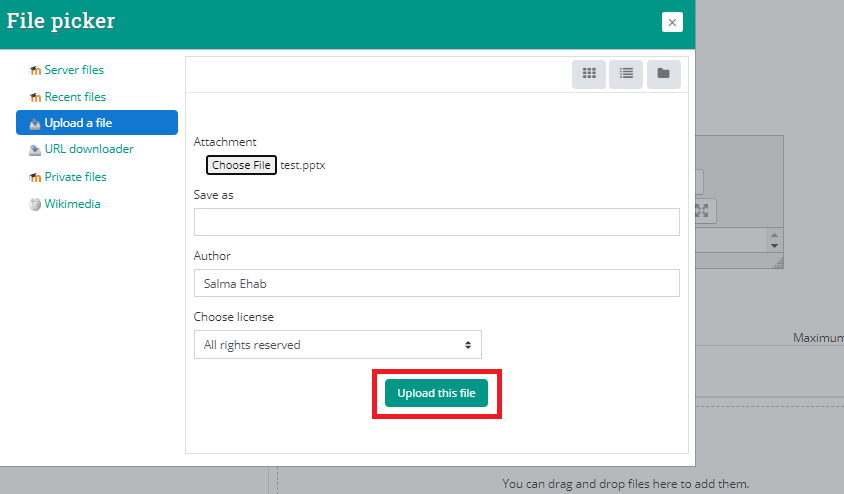
- You need to drag and drop your file, or click on "File" icon to choose a file from your computer.
- Click on "Choose File"
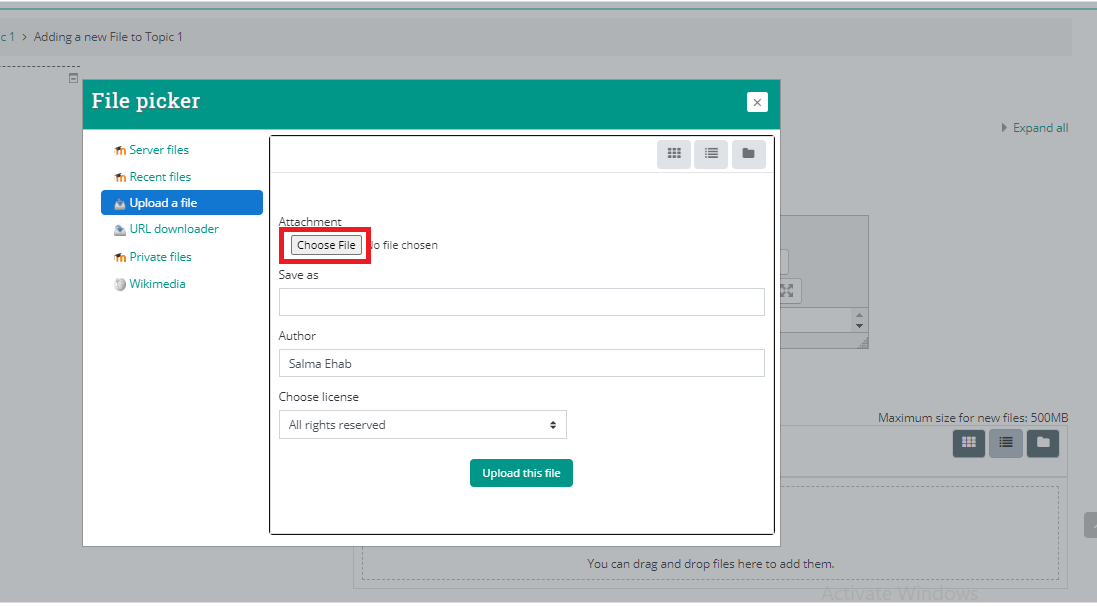
- Select a file from your computer, then click on "Open".

- Click on "Upload this file".
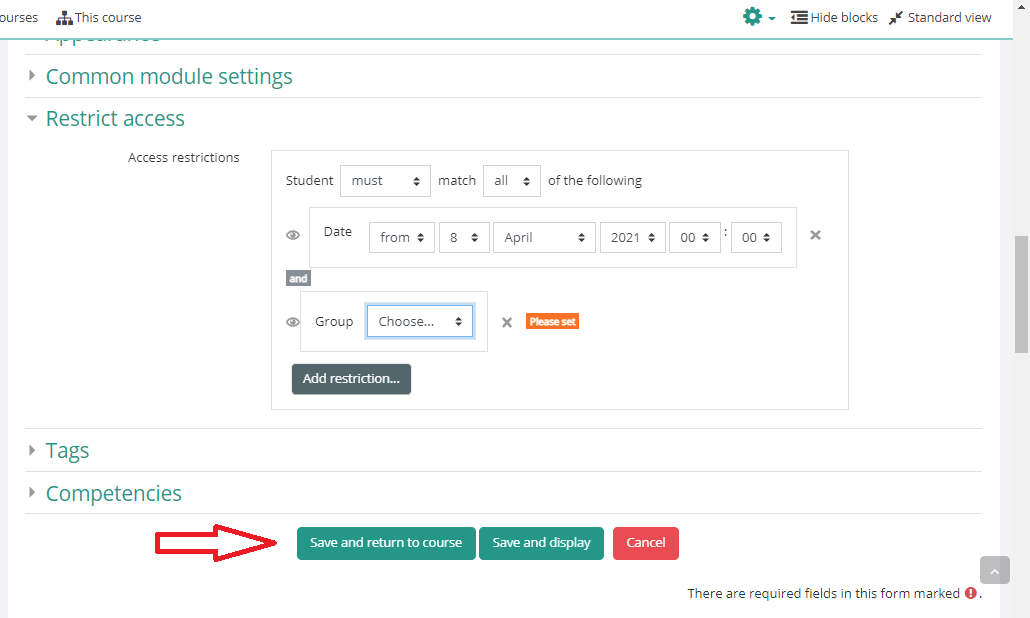
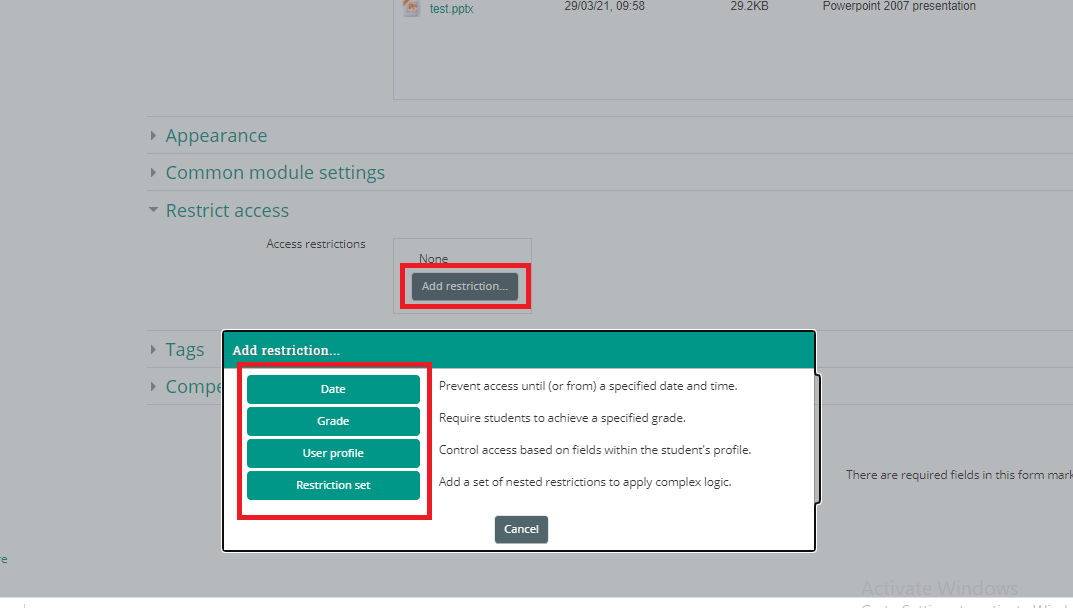
- Scroll down and click on "Restrict access" tab. (this option is made to manage who can see your file or when to make your file available publicly)
- click on "Add restriction..."
- then choose an option.
Restrict by date:
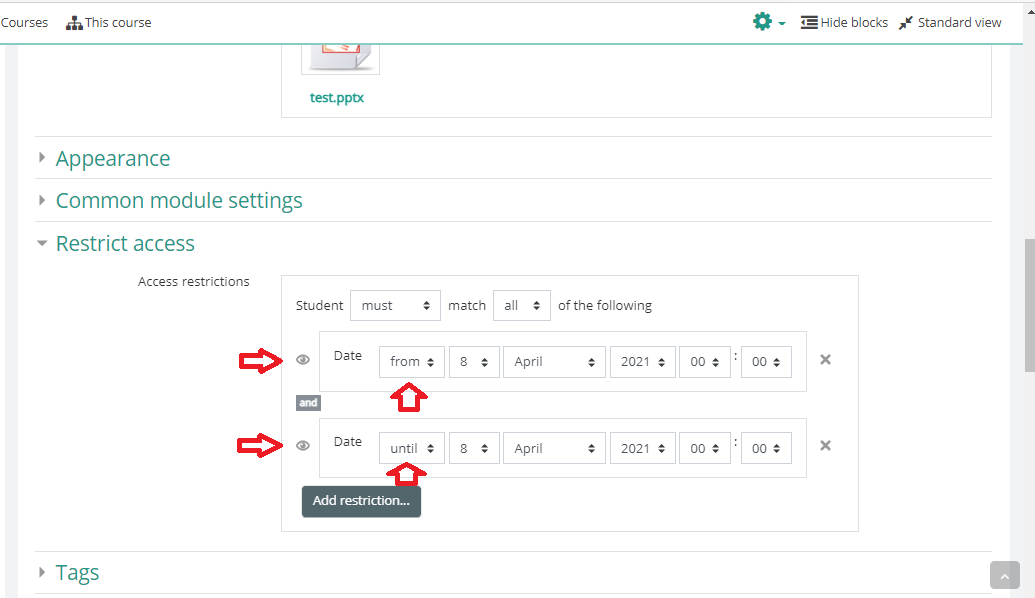
- Click on "Date" if you want your file to be available from specific time or until specific time.
- Choose "from" if you want to show your file from specific date.
- Choose "until" if you want to show your file until specific date.
- you can click on "Add restriction" again and choose "Date", it will add another date restrict access if you want to show your file on specific time only.

- First restriction must be "from" and other restriction must be "until".
- you can click on eye icon
 to hide the file and only show it on the selected time. (P.S. without clicking on eye icon the file will be shown and won't be hidden but it won't be accessible before or after the selected time.)
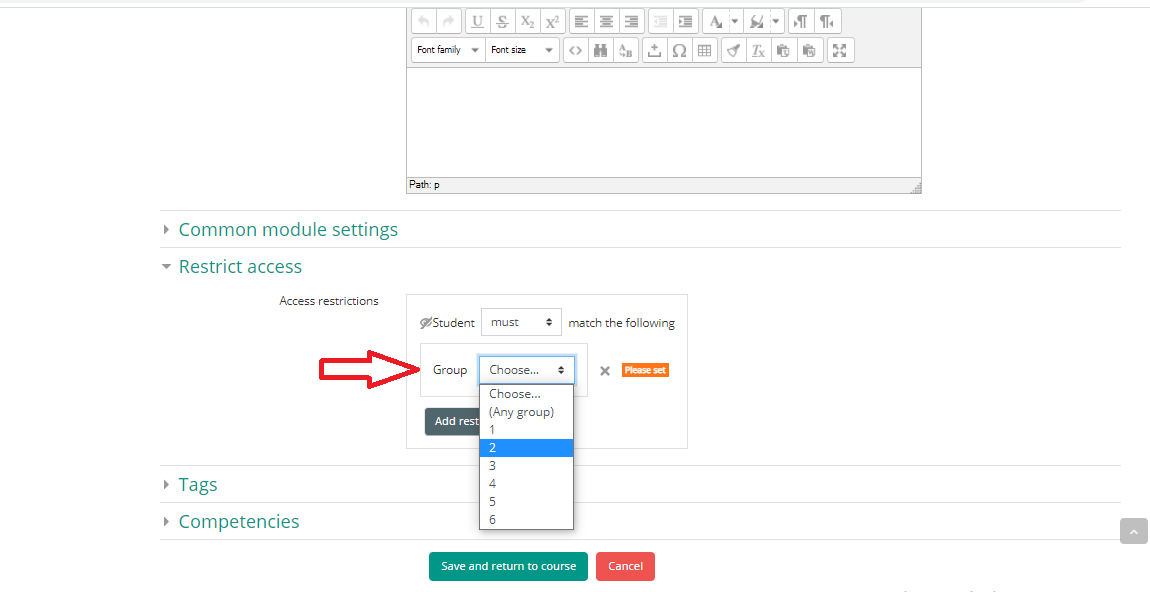
Restrict by group:
- Click on "Add restriction...", then click on "Group".
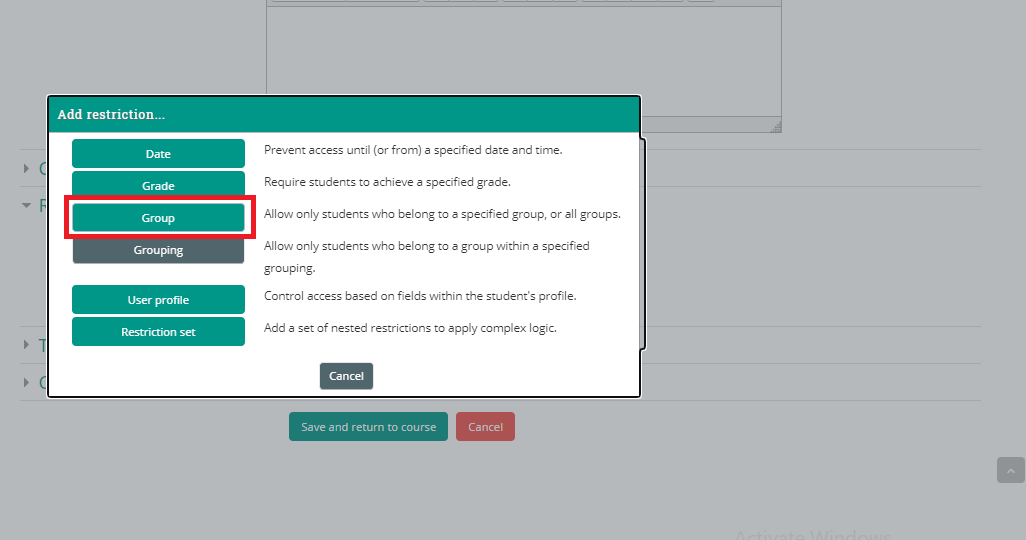
- Select the desired group and click on eye icon to hide the file from anyone not in the selected group, if you don't click on the eye icon the file will be shown to everyone but only accessible for the selected group.
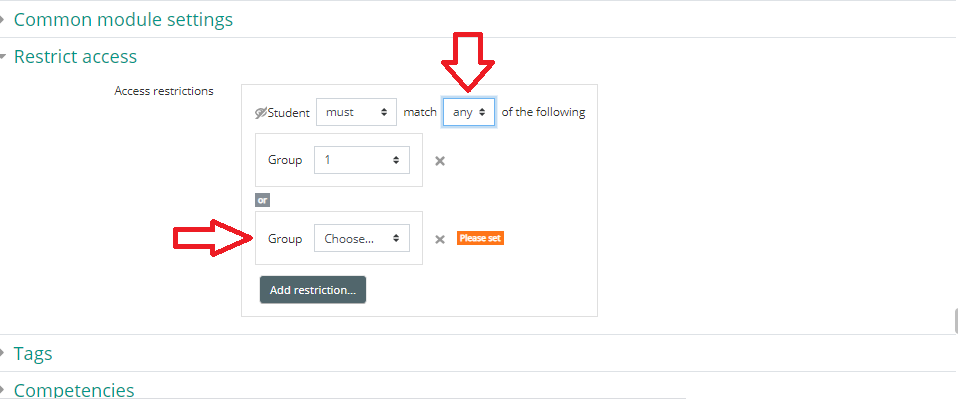
- you can add multiple groups by clicking on "Add restriction..." again and select "Group", then choose another group. (Can be done many times)
- Student must match "any" not "all", any means a file be shown and accessible to any student in group x or group y
Restrict access by Date and Group: - Click on "Add restriction...", then click on "Date" and choose the desired time.
- Click on "Add restriction..." again, then click on "group" and choose the desired group.
- in this case, Student must match "All" not "any" and this mean the file will be available to any student in group x and in the selected time, and so on.
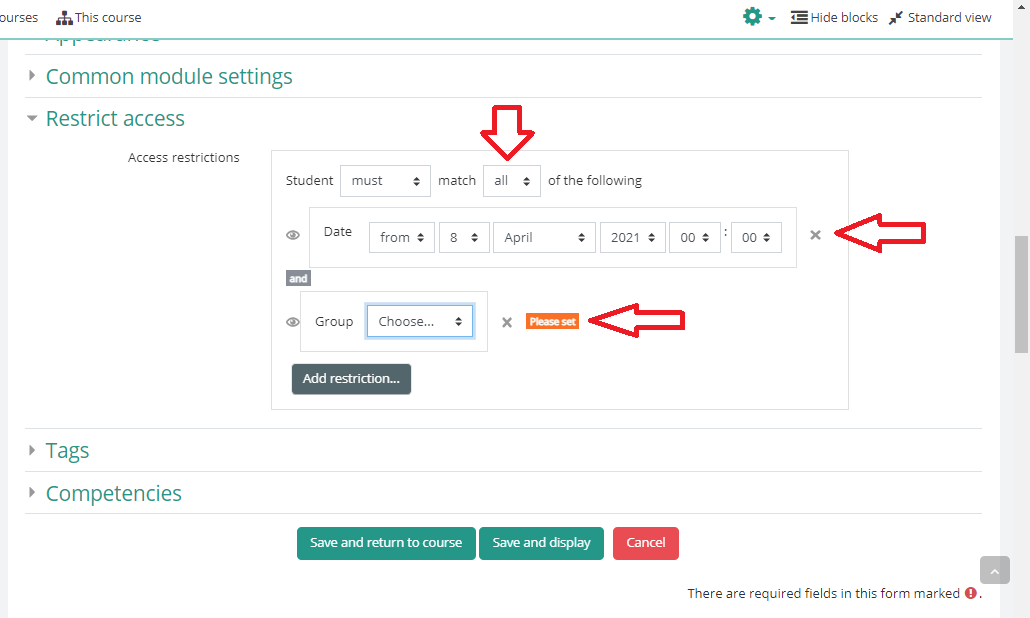
- Lastly after you finish, click on "Save and return to course".